
How to send Email in next JS using emailJS.
Hello, In this article we will learn how to send email in next js using emailJS without a server or backend, this blog contact form down below is implemented in next js using email js. In order to start sending emails in next JS you have to first create your next JS app and also create an account at emailjs.com.
First create your next JS app.
npx create-next-app myappInstall emailJS.
npm install @emailjs/browserSetting up your emailjs account.
In order to implement email js into our app we have to first create an account with emailjs.com. After creating your account and logging in you should be at this page.
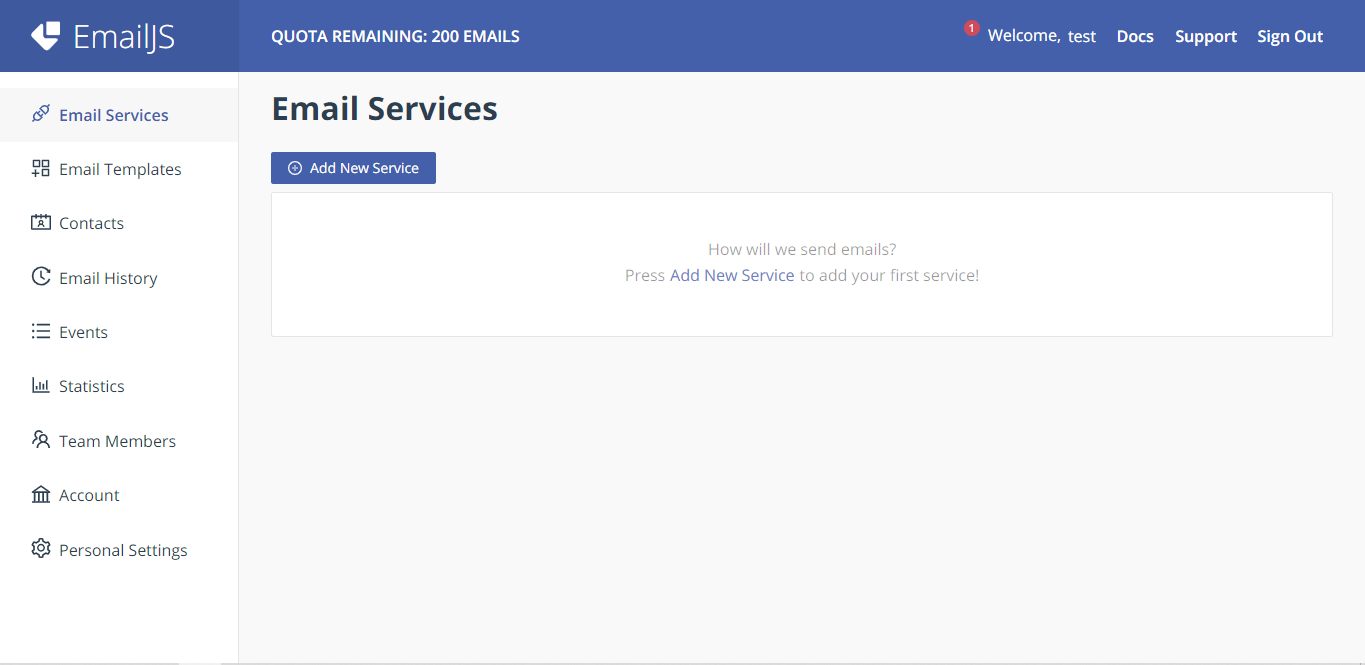
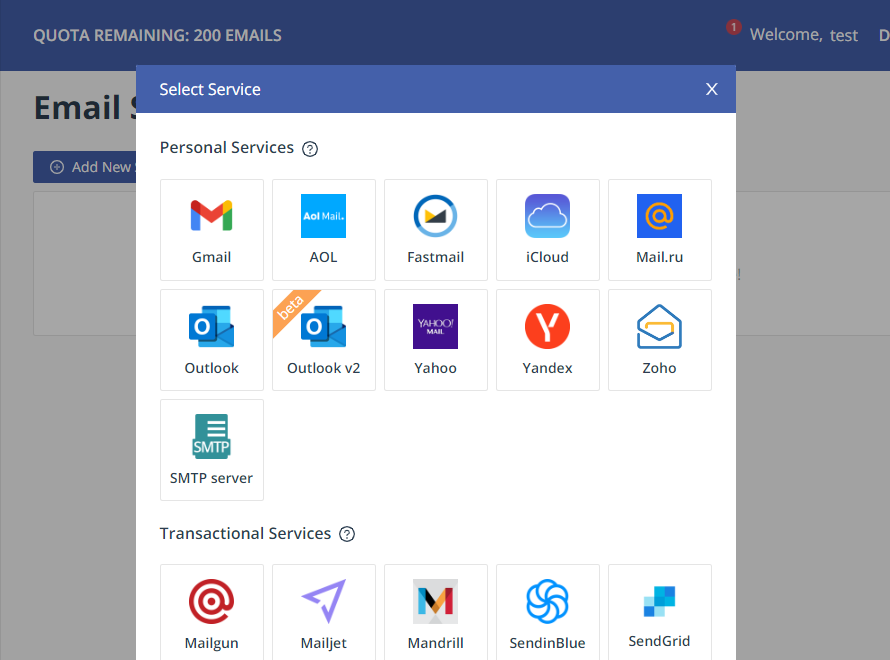
After signing in, we are going to add our service by clicking on the add new service button.
We are going to use gmail in this tutorial.
You are then going to connect the email you need to receive your mail from.
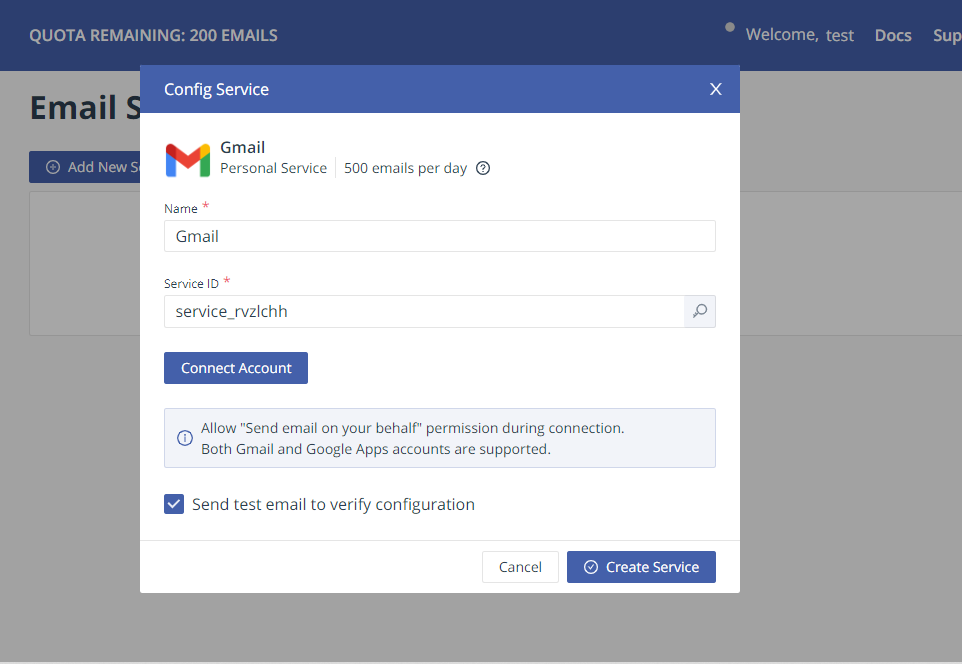
You will need to give emailjs the necessary permissions to continue. Then your service will then have been created.
After you have successfully connected your Gmail, emailjs will send a test email, if you have not received you might want to re check the email you provided.
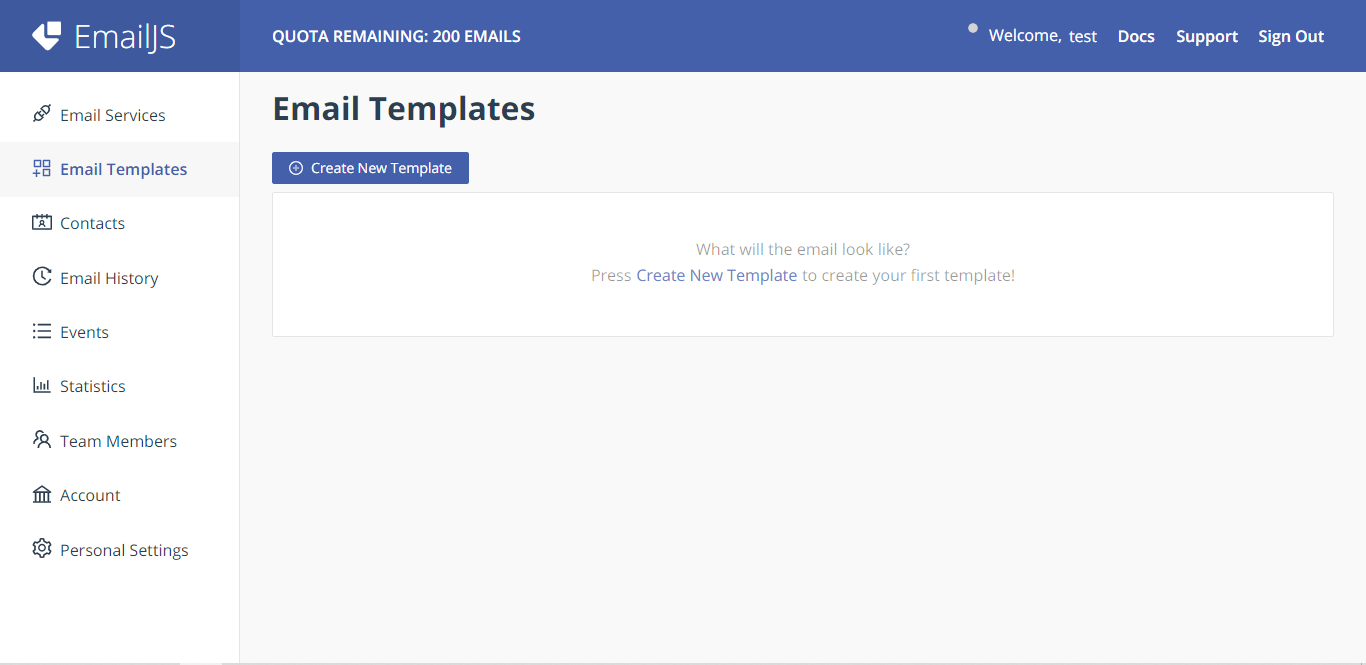
Creating your email template.
After creating your account and connecting your email you are going to create a template for your email.
This is the template we will be using, feel free to customize it however you would like. Then save it.

Create a form components.
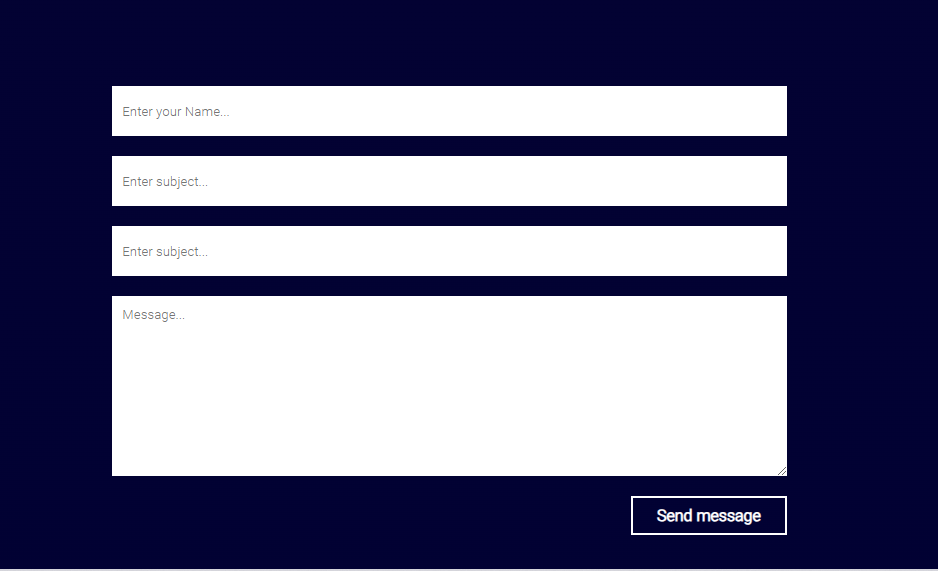
We are then going to create our form component where users will input their message and information that is then sent to your email.
Our form will consist of a Name, email, subject and also message fields. The values of these fields are the ones that are going to fill in the variables enclosed in the double curly brackets in our email template that we created above.
import styles from "./contact.module.scss";
const Contact = () => {
return (
<div className={styles.contact} id="contact">
<form action="">
<input
type="text"
name="name"
id="name"
placeholder="Enter your Name..."
required
/>
<input
type="text"
name="subject"
id="subject"
placeholder="Enter subject..."
required
/>
<input
type="email"
name="email"
id="email"
placeholder="Enter subject..."
required
/>
<textarea
name="message"
id="message"
cols="30"
rows="10"
placeholder="Message..."
required
></textarea>
<button type="submit">Send message</button>
</form>
</div>
);
};
export default Contact;.contact {
width: 100%;
margin: 100px auto 40px;
form {
margin-top: 20px;
display: flex;
align-items: flex-end;
flex-direction: column;
width: 50%;
margin: 0 auto;
color: #000;
input,
textarea {
width: 100%;
margin: 10px 0;
padding: 10px;
outline: none;
border: none;
color: #000;
background: #fff;
&:focus {
border: 3px solid cyan;
background: transparent;
color: #fff;
}
}
input {
height: 50px;
}
button {
background-color: transparent;
outline: none;
padding: 1rem;
border: 2px solid #fff;
font-size: 1rem;
padding: 0.5rem 1.5rem;
color: #000;
font-weight: 600;
margin-top: 10px;
transition: all 0.5s;
color: #fff;
}
}
}
This is the simple form design we shall go with, you can use your own design or make this one better.
After you have created your form you will need to import it to your page.js file in the app folder.
Setting up emailjs in your next JS app
"use client";
import styles from "./contact.module.scss";
import { useRef } from "react";
import emailjs from "@emailjs/browser";
const Contact = () => {
const emailRef = useRef();
const subjectRef = useRef();
const nameRef = useRef();
const messageRef = useRef();
const sendMessage = (e) => {
e.preventDefault();
const templateParams = {
name: nameRef.current.value,
email: emailRef.current.value,
subject: subjectRef.current.value,
message: messageRef.current.value,
};
emailjs
.send(
"service_Your_service_id",
"template_Your_template_id",
templateParams,
"Your_public_key"
)
.then(
function (response) {
console.log("SUCCESS!", response.status, response.text);
alert("Thanks, message sent successfully");
},
function (error) {
alert("OOPs something went wrong... Try again later");
console.log("FAILED...", error);
}
);
nameRef.current.value = "";
emailRef.current.value = "";
subjectRef.current.value = "";
messageRef.current.value = "";
};
return (
<div className={styles.contact} id="contact">
<form onSubmit={sendMessage} action="">
<input
type="text"
name="name"
id="name"
placeholder="Enter Name"
ref={nameRef}
required
/>
<input
type="text"
name="subject"
id="subject"
required
placeholder="Enter Subject"
ref={subjectRef}
/>
<input
type="email"
name="email"
id="email"
required
placeholder="Enter Email"
ref={emailRef}
/>
<textarea
name="message"
id="message"
cols="25"
rows="7"
required
placeholder="Enter Message..."
ref={messageRef}
></textarea>
<button type="submit">send message</button>
</form>
</div>
);
};
export default Contact;
Code Explanation.
- useRef is used to create references to input elements in the form to access their values later.
- The sendMessage function is defined to handle the form submission and send the email.
- Inside sendMessage, the input values are extracted from the respective ref objects and stored in templateParams, which is an object containing the necessary parameters for the email.
- The emailjs.send function is called to send the email using the provided service ID, template ID, template parameters, and public key. It returns a promise that is resolved when the email is successfully sent.
- In the then block, a success message is logged, and an alert is displayed to inform the user that the message was sent successfully. In case of an error, an alert is shown, and the error is logged to the console.
- After sending the email, the input fields are cleared by resetting their values to empty strings.
Your service Id can be found in Email services tab, the template id can be found in the email template tab and your public key can be found in the Account tab.
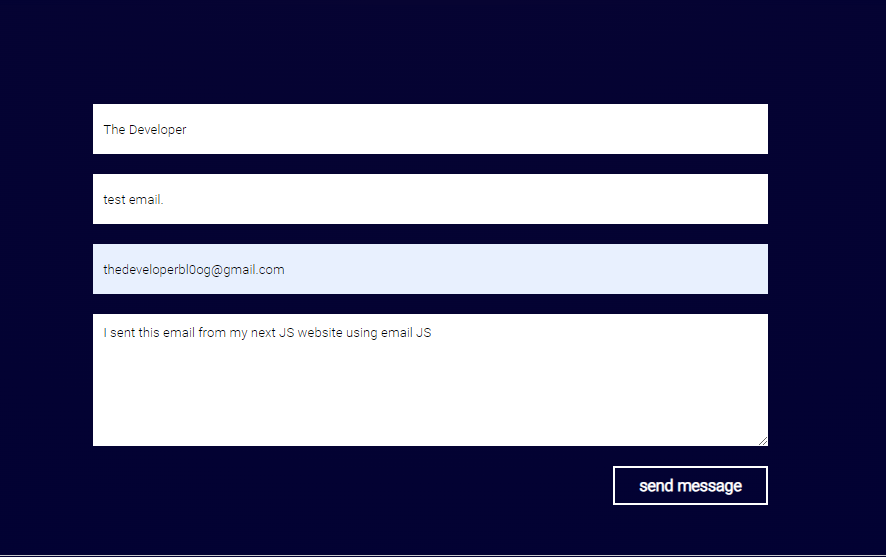
If you did everything correctly you should be able to send emails directly to your email inbox from your website or portfolio. Like so.
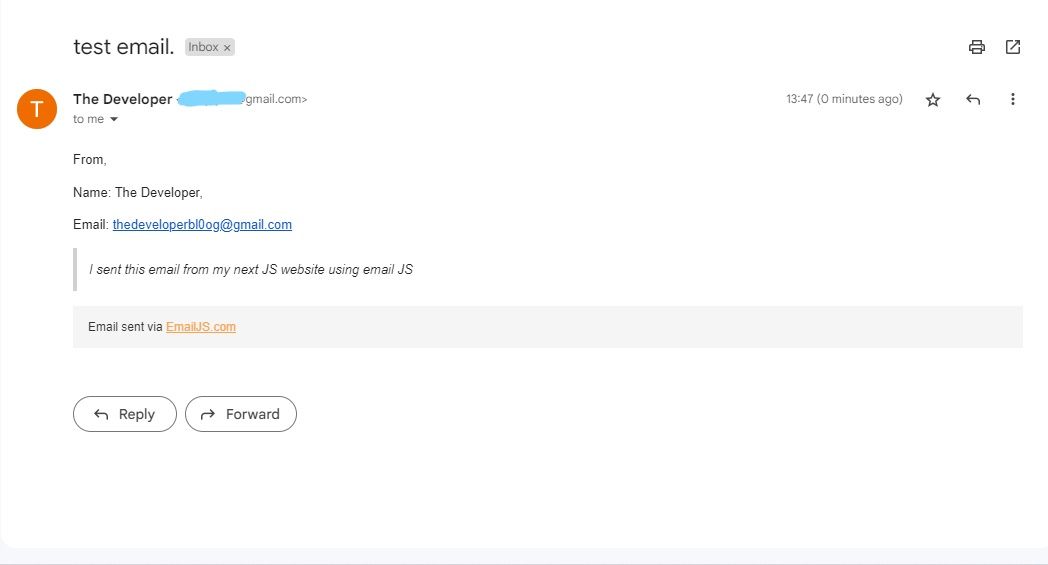
Found this article helpful? leave a comment down below.

comments
Add a comment...