How to make a website using Html and Css.
In this post we are going to see how to make a website using html and Css, but first we are going to have to understand what and how Html works in building websites and also the use of Css.
If you're new to web development, fear not! This beginner's guide will walk you through the process of building a website using HTML and CSS, the building blocks of the web. Code examples will be available.
Prerequisites.
In order to start building the website along with us, you will have to know a bit of the following.
- Basic understanding of Html and Css.
- A code editor. I would personal recommend vs code available for most popular os.
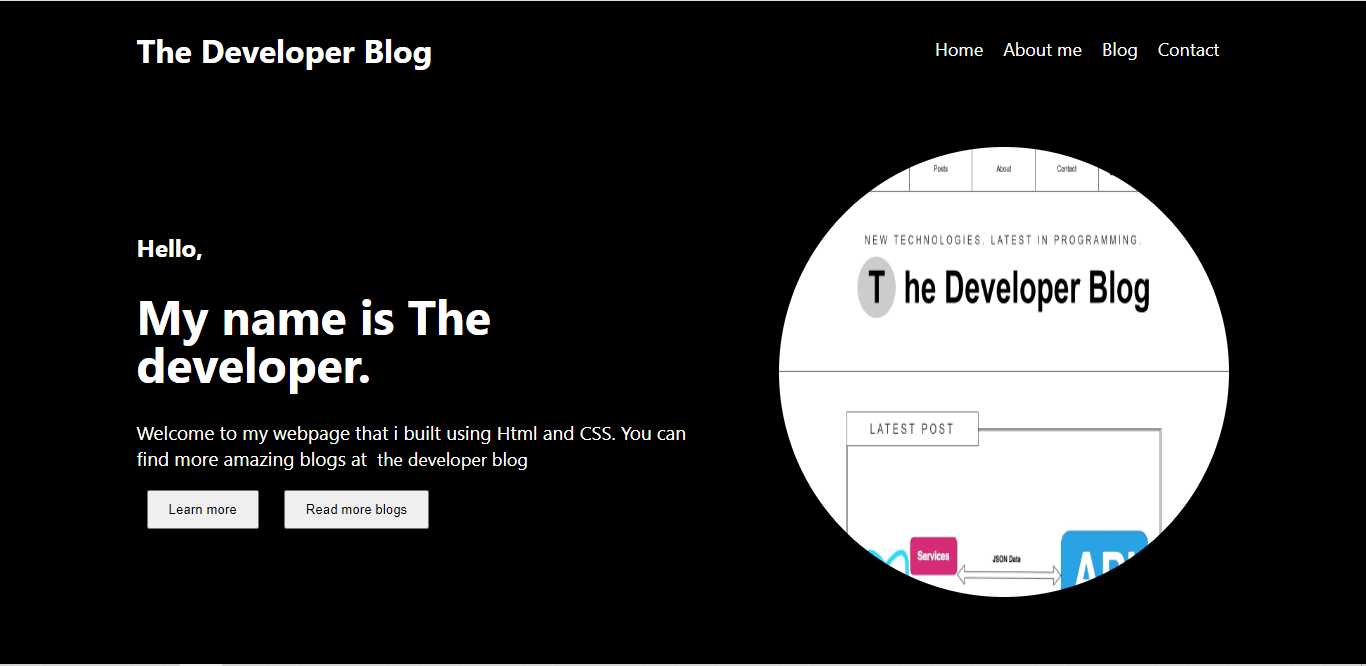
This is the final website we shall build using html and css.
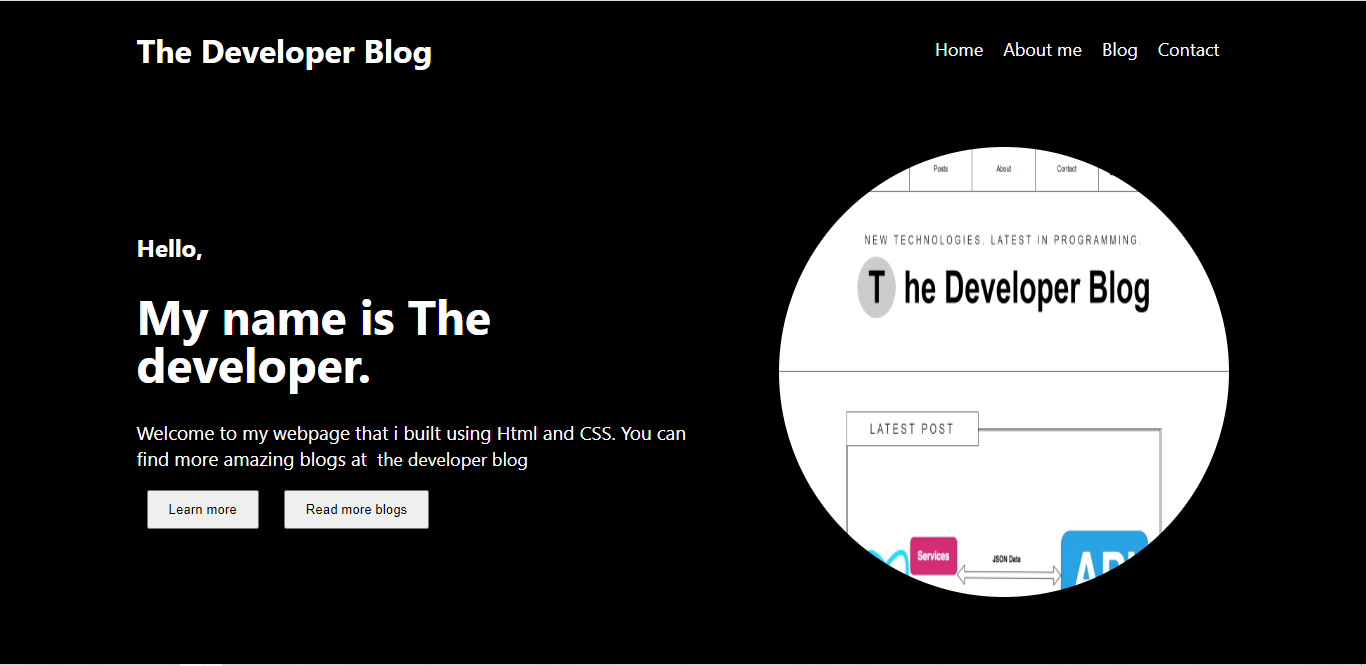
But first.
How to build a website using Html.
Html stands for Hypertext markup language and it is the language that is used to structure a webpage. Every website uses html to structure its content it can be known as the skeleton of a website in simple terms.
Html basic structure may look like this.
<!DOCTYPE html>
<html>
<head>
<title>Page Title</title>
</head>
<body>
<h1>This is a Heading</h1>
<p>This is a paragraph.</p>
</body>
</html>Elements and tags in html, these are the building blocks of a webpage, represented by tags such as <h1>, <p>, <div>, and <span>. Learn about various elements and their attributes to create meaningful content and awesome pages.
<div><p>this is a paragraph in a div</p></div><p>this is a paragraph <span>and this is span in a paragraph</span></p>Text formatting in Html, Html provides us with various tags for heading, paragraphs, lists, links and many others, they can be represented using the following tags, <h1> to <h6> for the headings, <p> for paragraphs, <ul> for unordered lists, <ol> for ordered lists, and <a> for anchor tags these used for links.
How to build a website using Css.
CSS stands for Cascading Style Sheets and it adds visual appeal and styling to your website. It allows you to control the colors, fonts, layout, and overall design of a webpage
Some popular CSS concepts to know.
CSS syntax.
body {
background-color: black;
}
h1 {
color: red;
text-align: center;
font-size: 24px;
}
p {
font-family: sans-serif;
color: white;
font-size: 18px;
}Selectors. CSS offers many selectors used to select specific elements or group of elements these selectors include , class selectors, ID selectors, element selectors and others.
<!DOCTYPE html>
<html>
<head>
<title>Page Title</title>
</head>
<body>
<p class="sometext">This is a paragraph.</p>
<h1 id="heading">This is a Heading</h1>
<div></div>
</body>
</html>/* class-selectors */
.sometext{
color: yellow;
}
/* id-selector */
#heading{
font-size: 22px;
}
/* element-selector */
div{
height: 200px;
background: black;
width: 200px;
}Styling properties. Dive into CSS properties like color, font-family, margin, padding, background, and border to manipulate the appearance of your website. Experiment and observe the changes in real-time.
CSS rules and external style sheets, Learn how to embed CSS directly within HTML using the <style> tag or link an external CSS file to keep your code organized and maintainable. In this example we shall be linking our html to an external css file.
How to make a website using Html and Css.
Now that you have a basic understanding of HTML and CSS, it's time to build your website using both languages.
1. Setting up you environment and folder structure.
After create a folder on your desktop and give it a suitable name, i am going to call it blog_html& ss, then open it using vs code.

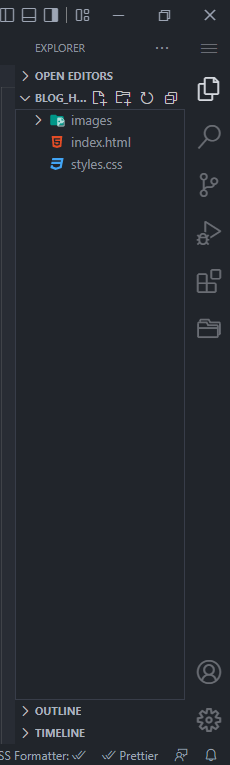
Inside vs code create a the html folder and name it index.html. All html files are named with the .html file extension.
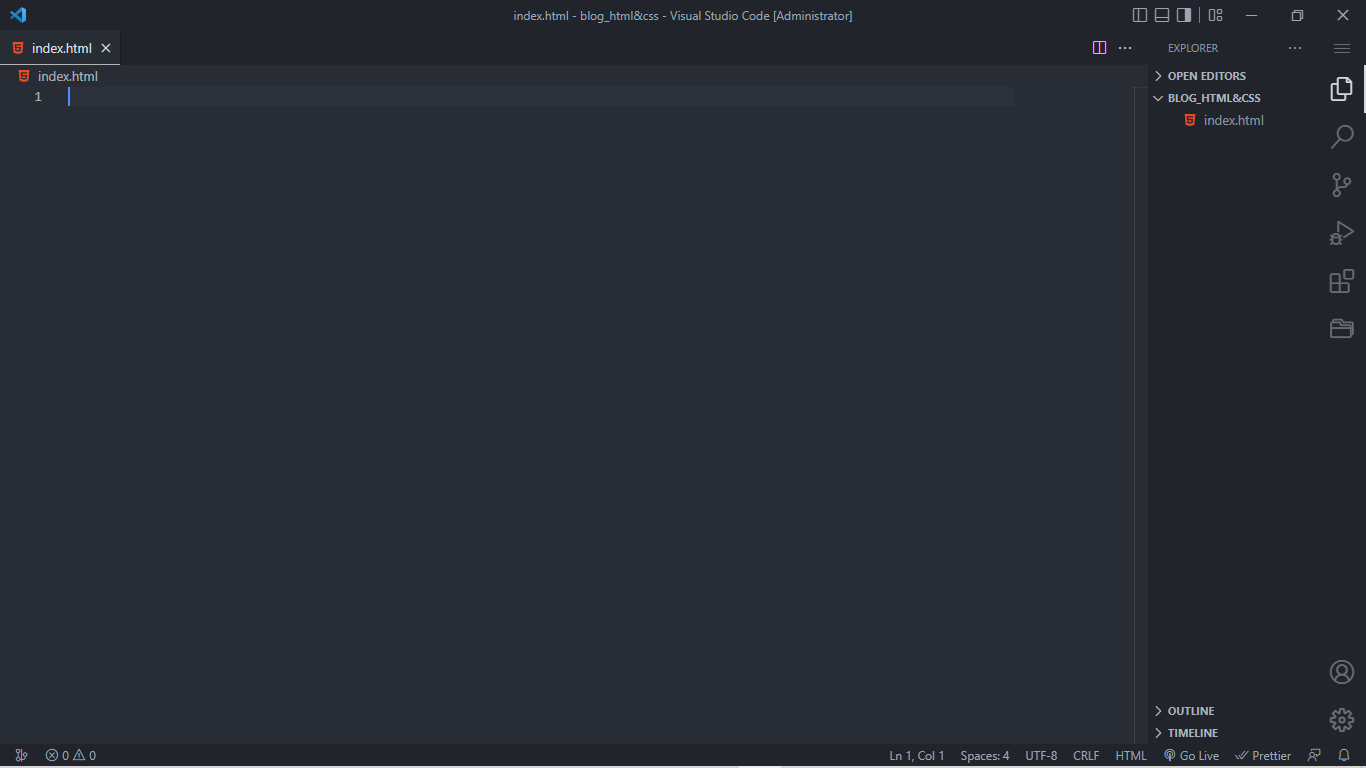
You can create a file by clicking on the file icon on the folder name.
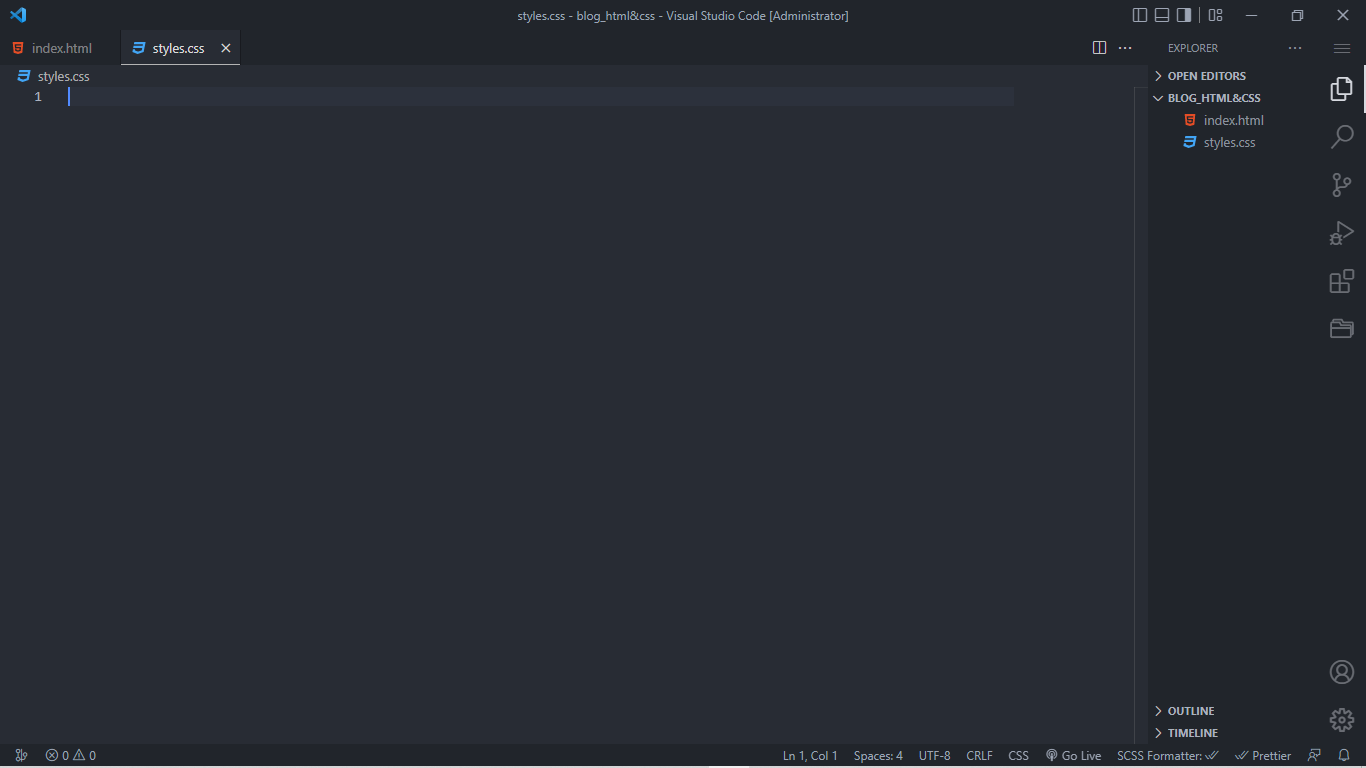
Next you will need to create a second file and name it styles.css, this is where all styles of our website will be placed.
Now that we are done with the files, we can create an additional folder called images or assets if you like, this is where we shall store our images.
This is how your folder structure should look like now.
Now we start with the html code for our website.
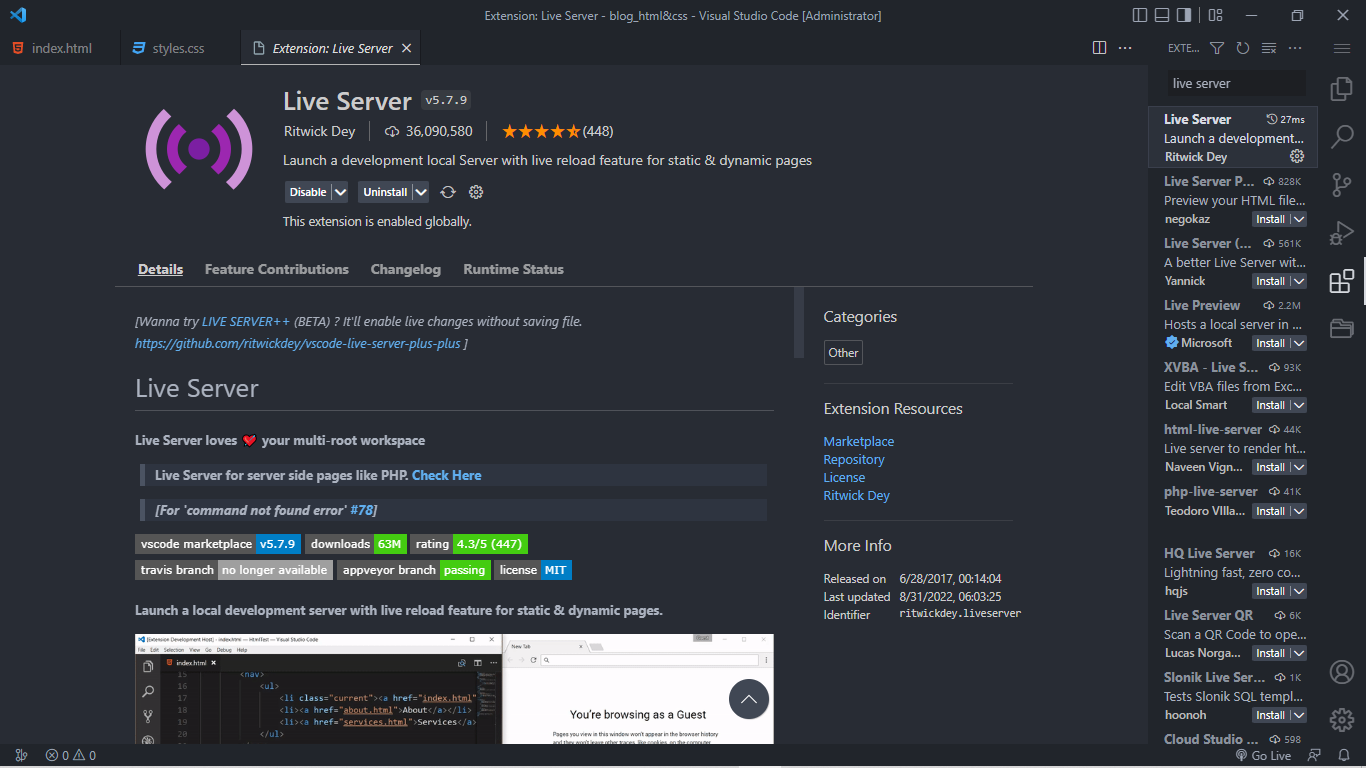
But before we get started I recommend you download the live server extension in vs code so that you will be able to preview your code easier.
This can be found here.
And then searching "live server".
Html source code.
tip: hold shift then press 1 and enter for the html boiler plate code.
<!DOCTYPE html>
<html lang="en">
<head>
<meta charset="UTF-8" />
<meta http-equiv="X-UA-Compatible" content="IE=edge" />
<meta name="viewport" content="width=device-width, initial-scale=1.0" />
<title>My first webpage</title>
<link rel="stylesheet" href="./styles.css" />
</head>
<body>
<header>
<nav>
<h1 class="logo">The Developer Blog</h1>
<ul class="navlinks">
<a href=""><li>Home</li></a>
<a href=""><li>About me</li></a>
<a href=""><li>Blog</li></a>
<a href=""><li>Contact</li></a>
</ul>
</nav>
</header>
<main>
<div class="hero-text">
<h2>Hello,</h2>
<h1>My name is The developer.</h1>
<p>
Welcome to my webpage that i built using Html and CSS. You can find
more amazing blogs at<a href="https://thedeveloperblog.vercel.app"
>the developer blog
</a>
</p>
<span class="buttons">
<a
href="https://thedeveloperblog.vercel.app/post/how-to-build-a-website-using-html-and-css"
>
<button>Learn more</button>
</a>
<a href="https://thedeveloperblog.vercel.app">
<button>Read more blogs</button>
</a>
</span>
</div>
<div class="image">
<img src="./images/thedeveloperblog.vercel.app.png" alt="my image" />
</div>
</main>
</body>
</html>Code explanation.
The HTML code represents the structure and content of our webpage. Here's a brief explanation of each section:
- `<!DOCTYPE html>`: This declaration specifies the document type as HTML5, which is the latest version of HTML.
- `<html lang="en">`: This opening tag indicates the beginning of the HTML document and specifies the language of the content (English in this case).
- `<head>`: This section contains meta-information and external resources related to the webpage, such as character encoding, viewport settings, page title, and linked stylesheets.
- `<meta charset="UTF-8">`: This meta tag sets the character encoding of the webpage to UTF-8, which supports a wide range of characters.
- `<meta http-equiv="X-UA-Compatible" content="IE=edge">`: This meta tag ensures that the webpage renders in the latest version of Internet Explorer, providing compatibility settings.
- `<meta name="viewport" content="width=device-width, initial-scale=1.0">`: This meta tag defines the viewport settings for responsive web design, adjusting the webpage's initial scale and width according to the device's screen size.
- `<title>My first webpage</title>`: This tag sets the title of the webpage, which appears in the browser's title bar or tab.
- `<link rel="stylesheet" href="./styles.css" />`: This link tag establishes a connection to an external CSS file named "styles.css," which contains the styles for the webpage.
- `<body>`: This opening tag represents the body section of the webpage, containing all the visible content.
- `<header>`: This section represents the header of the webpage, typically containing the website's logo and navigation elements.
- `<nav>`: This tag represents the navigation section, encompassing a list of navigation links.
- `<h1 class="logo">The Developer Blog</h1>`: This heading tag with the "logo" class represents the website's logo, displaying the text "The Developer Blog."
- `<ul class="navlinks">`: This unordered list tag with the "navlinks" class represents a list of navigation links.
- `<a href=""><li>Home</li></a>`: This anchor tag with an empty "href" attribute wraps each list item, creating clickable links for navigation.
- `<main>`: This section represents the main content of the webpage.
- `<div class="hero-text">`: This division tag with the "hero-text" class contains the introductory text and information about the webpage.
- `<h2>Hello,</h2>`: This heading tag displays the salutation "Hello," typically used for a subheading.
- `<h1>My name is The developer.</h1>`: This heading tag displays the main heading of the webpage, stating "My name is The developer."
- `<p>`: This paragraph tag represents a block of text, providing a welcoming message and information about the webpage.
- `<a href="https://thedeveloperblog.vercel.app">the developer blog</a>`: This anchor tag creates a clickable link to the external webpage "https://thedeveloperblog.vercel.app".
- `<span class="buttons">`: This inline element with the "buttons" class wraps a group of buttons.
- `<a href="https://thedeveloperblog.vercel.app/post/how-to-build-a-website-using-html-and-css"><button>Learn more</button></a>`: This anchor tag wraps a button that links to the specific blog post "https://thedeveloperblog.vercel.app/post/how-to-build-a-website-using-html-and-css".
- `<a href="https://thedeveloperblog.vercel.app"><button>Read more blogs</button></a>`: This anchor tag wraps a button that links
to the main page of "https://thedeveloperblog.vercel.app".
- `<div class="image">`: This division tag with the "image" class represents a section for displaying an image.
- `<img src="./images/thedeveloperblog.vercel.app.png" alt="my image" />`: This image tag displays an image with the source file path "./images/thedeveloperblog.vercel.app.png" and an alternative text "my image" for accessibility purposes. You can add an image of your own into the images folder.
You can preview your page using the live server by pressing the go live, at the bottom right in vs code.
Now add your css from into the Css file you created earlier.
body {
margin: 0;
padding: 0;
box-sizing: border-box;
font-family: system-ui, -apple-system, BlinkMacSystemFont, "Segoe UI", Roboto,
Oxygen, Ubuntu, Cantarell, "Open Sans", "Helvetica Neue", sans-serif;
background: black;
color: white;
}
header nav {
display: flex;
align-items: center;
justify-content: space-between;
width: 80%;
margin: 0 auto;
}
nav ul {
display: flex;
list-style: none;
}
header nav h1 {
font-size: 2rem;
}
a {
margin: 0 10px;
text-decoration: none;
font-size: 18px;
color: white;
}
main {
display: flex;
align-items: center;
justify-content: space-between;
width: 80%;
margin: 50px auto;
}
main h2 {
line-height: 1;
}
main h1 {
font-size: 3rem;
line-height: 1;
}
main p {
font-size: 19px;
}
.hero-text {
width: 53%;
}
.image {
width: 450px;
height: 450px;
overflow: hidden;
border-radius: 50%;
}
img {
width: 100%;
height: 100%;
}
button {
padding: 10px 20px;
}
button:hover {
cursor: pointer;
}Code Explanation.
The CSS code contains styles for various elements on a our html file. Here's a brief explanation of each section:
- `body`: This selector targets the `<body>` element and applies styles to it. The specified styles include removing margins and padding, using the border-box model, setting the font family, and defining the background color as black and text color as white.
- `header nav`: This selector targets the `<nav>` element within the `<header>` section. The specified styles include displaying it as a flex container with centered and evenly spaced content. The width is set to 80% with a margin of 0 auto to center it horizontally.
- `nav ul`: This selector targets the unordered list within the navigation menu. The styles include displaying it as a flex container and removing the default bullet points with `list-style: none`.
- `header nav h1`: This selector targets the `<h1>` element within the navigation menu. The specified style sets the font size to 2rem.
- `a`: This selector targets anchor elements (`<a>`) and applies styles such as margin, text decoration, font size, and color. The links are styled to have a margin of 0 on the left and right, no underlines (`text-decoration: none`), a font size of 18px, and white text color.
- `main`: This selector targets the `<main>` element and applies styles to it. The styles include displaying it as a flex container with centered and evenly spaced content. The width is set to 80% with a margin of 50px auto to center it horizontally.
- `main h2`: This selector targets the `<h2>` element within the `<main>` section. The specified style sets the line height to 1.
- `main h1`: This selector targets the `<h1>` element within the `<main>` section. The specified styles set the font size to 3rem and the line height to 1.
- `main p`: This selector targets the `<p>` element within the `<main>` section. The specified style sets the font size to 19px.
- `.hero-text`: This class selector targets an element with the class "hero-text". The specified style sets the width to 53%.
- `.image`: This class selector targets an element with the class "image". The specified styles set the width and height to 450px, set overflow to hidden, and apply a border-radius of 50% for a circular shape.
- `img`: This selector targets `<img>` elements and sets their width and height to 100% of the parent container.
- `button`: This selector targets `<button>` elements and sets padding of 10px on the top and bottom, and 20px on the left and right.
- `button:hover`: This selector targets `<button>` elements when hovered over and specifies that the cursor should change to a pointer.
Preview: here.
You can deloy your html and css website using netlify for free.
entire source code: here.
Congratulations! You've learned the fundamentals of building a website using HTML and CSS. Continue exploring and experimenting with different elements and styles. As you gain more experience, you can expand your knowledge by learning additional web development technologies and frameworks. Happy coding, and enjoy the process of bringing your website to life!
Found this article helpful? leave a comment down below.


comments
Add a comment...